


Make a Blanket with Me!
- Keeley Shoemaker
- Nov 13, 2023
- 3 min read

Hello, dear readers! As the crisp breeze of autumn sweeps in and winter's icy touch draws near, there's nothing quite like snuggling up under a warm, handcrafted blanket. While store-bought blankets are lovely, there's something truly special about creating your very own oversized, cozy knit blanket. Besides, huge, cozy blankets like these can be really expensive! Not only does it provide a perfect project to unleash your creative spirit, but it also offers a wonderful sense of accomplishment and warmth as you wrap yourself in the fruits of your labor.
In this blog post, I'll share with you about my recent journey into the world of knitting and guide you through the art of making a large, luxurious knit blanket. Whether you're a seasoned knitting enthusiast or a complete beginner, we'll explore the steps and tips to help you create a blanket that envelops you in comfort and adds a touch of handmade warmth to your home on a budget!
I made a TikTok showcasing my process with special features from 2 of my friends, so be sure to check it out!
Step 1:
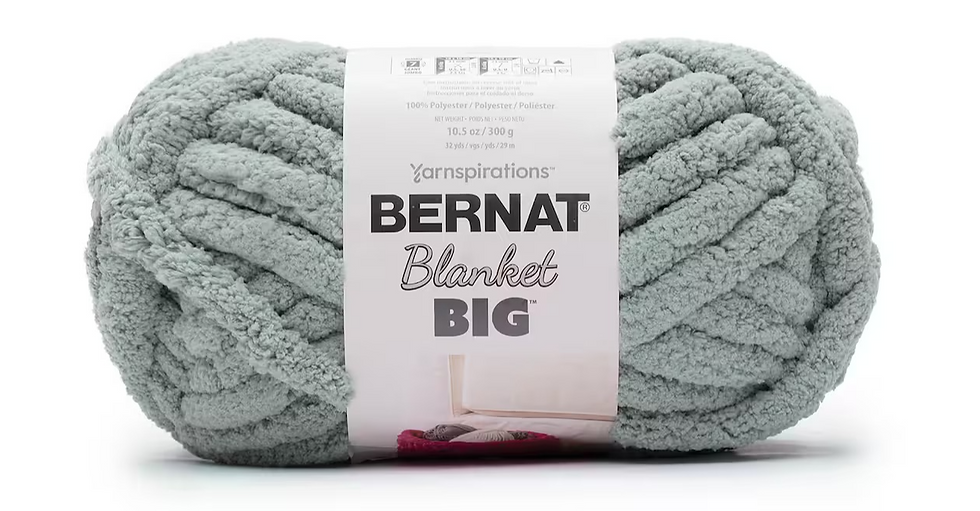
Amazon! Use this link: https://amzn.to/3QSsPPL to see the yarn I recommend using for this project. It's on sale right now and comes in packs of 2, so this is perfect for this project and cheaper than visiting your local craft store! For an average size throw blanket, you'll need about 6-8 rolls of yarn. I was making a housewarming gift for my boyfriend, so I made a 2-person-sized blanket and it took about 16 rolls.
Step 2:
Once you have your rolls of yarn, pick one to begin your blanket! Starting can be daunting, but I promise once you get started you won't want to stop. I find the process to be so relaxing and is easy to do in small sittings or in one larger one on a rainy day! Put on your favorite binge show and let's get started. At this point, you will want to find the end of the piece of yarn, loop it around itself, then pull a loop through to form a knot, with a loop hanging out. This is a standard slip knot, if that makes more sense to you! I've included a small clip to help you!

Step 3:
Now that your piece is started, you are going to repeat the following step until your beginning line of knots is as long as you wish your blanket to be wide. From your first knot, pull the working yarn through the loop, creating another bunny loop. It will now look like this:

Step 4:
After your blanket has reached the desired width, you'll now take your final loop on the end, transition the working yarn so it is sitting from the opposite side of your workspace, and begin pulling the bunny loops through your existing length of yarn. You will do so by finding your first stitch from the end and then pulling a loop of yarn through the top stitch using your pointer finger and thumb. This is demonstrated here:

Step 5:
Continue this, working your way from one side to the other then back, until your blanket is the desired length! At the end, you will repeat step 1 to create a knot at the end of your blanket. How you choose to hide the leftover yarn is up to you, but I tend to weave the remaining 3-6 inches back into the blanket before I tie a knot to avoid long chains on the ends!
Have fun knitting!


Comments